

Pick and upload images to Firebase with Flutter


Table of contents

No headings in the article.
 Photo by Fahim Muntashir on Unsplash.
This post shares my challenges with picking multiple images, uploading to Firebase storage, and managing state using the Bloc pattern.
Table of contents
- What is Flutter?
- Audience
- What the post is about
- Goals for the post
- Setup
What is Flutter?
Flutter is a cross-platform that supports the development of apps for iOS, Android, web, and desktop from a single code-base. Read more here.
What is Firebase?
I could not put it better than this.
Audience
Intermediate. You should be familiar with the Bloc pattern. Read more about the Bloc pattern here if you are just getting started.
What we are building
A flutter app that enables a user to pick photos from their phone and upload them to Firebase Cloud Storage. This was a challenge for me when I was building a similar app. I didn't know how to retrieve the list of links from cloud storage and how to use those links to create documents in the Firebase collection. I struggled for a few days before solving the problem. This post is meant to make your life better while working with images in flutter.
All code for this tutorial will be hosted on GitHub and links will be added at appropriate sections of the blog.
Goals for the post
By the end of the post, you should be able to;
- Develop an app that allows users to pick multiple images and upload them to cloud storage.
- Use the Bloc pattern to update the state of your app when images are picked by the user.
- Use Firebase cloud storage to store data such as images on Firebase, and Firestore collections to store metadata about an image. You should also be comfortable with Firestore rules for protecting user's data in your app.
Getting started
To get started, create a new flutter app by running:
$ flutter create [app_name] && cd [app_name] && code .
With the above commands;
1- We created a new app.
2- Changed the directory to our app's folder, and opened the folder in VSCode .
You can also open the folder using Android Studio if VSCode is not installed on your machine by right-clicking on the folder [app_name] and choosing Open with other application (on Ubuntu) option then choosing Android Studio.
Packages used
Add these packages to pubspec.yaml file.
flutter_bloc: ^7.1.0
firebase_core: ^1.4.0
cloud_firestore: ^2.2.0
firebase_storage: ^8.1.0
permission_handler: ^7.1.0
multi_image_picker2: ^5.0.0
path_provider: ^2.0.2
lib/main.dart
import 'package:flutter/material.dart';

void main() {
  runApp(MyApp());
}

class MyApp extends StatelessWidget {
  @override
  Widget build(BuildContext context) {
    return MaterialApp(
      title: 'Photo sharing app',
      theme: ThemeData(
        primarySwatch: Colors.blue,
      ),
      home: const HomeScreen(),
    );
  }
}
lib/screens/home_screen.dart
import 'package:flutter/material.dart';

class HomeScreen extends StatelessWidget {
  const HomeScreen({Key? key}) : super(key: key);

  @override
  Widget build(BuildContext context) => Scaffold(
    appBar: AppBar(title: Text('Photo Sharing app'),),
  );
}
Error: [[!] The shrinker may have failed to optimize the Java byte-code. To disable the shrinker, pass the - no-shrink flag to this command.
To learn more, see: developer.android.com/studio/build/shrink-c..
build.gradle
defaultConfig {
        // TODO: Specify your own unique Application ID (https://developer.android.com/studio/build/application-id.html).
        applicationId "com.example.photo_sharing_app"
        minSdkVersion 21
        targetSdkVersion 30
        versionCode flutterVersionCode.toInteger()
        versionName flutterVersionName
}
Adding app to Firebase
Follow these instructions.
Let's upload an image to storage (manually)
Click on Upload file button and pick a local image file to upload.
Add uploaded image to images collection in Firebase Firestore
Now let's grab our image url so we can use to create a document. From Storage, click on the image and right click on the Name property to copy the link address. We will use the link address for the url field in the document.
Now in the images collection, create a document with the url
Add image document to collection
Let's create an image model
The new file should be created inside lib/models
import 'package:cloud_firestore/cloud_firestore.dart';

class ImageModel {
  const ImageModel({required this.url, required this.uploaded});

  final String url;

  final Timestamp uploaded;

  factory ImageModel.fromSnapshot(DocumentSnapshot doc) =>
      ImageModel(url: doc['url'], uploaded: doc['uploaded']);

  Map<String, dynamic> toDocument() => {'url': url, 'uploaded': uploaded};
}
Here are some reasons to use models in your app
- A lightweight application 'model' can add value to an Agile development process.
- User flows are the basis of an easily comprehended application model, which can be used to socialize and validate features and functions of the app with the wider team and stakeholders.
- An application model can be used to effectively involve the UX function and create solutions prior to a coding iteration.
- Application modeling assists with exploring the total project scope and facilitates selection of the user flows needed for a minimum desirable product.
- An agile model allows and supports an iterative time-bounded project approach. It is easily updated, with as-built decisions, to ensure its usefulness in an ongoing product lifecycle.
Add image repository
We will be using the repository pattern along side the bloc pattern. The repository is a data layer in the app's architecture. The repository is the link between the server/database and the app.
import 'package:cloud_firestore/cloud_firestore.dart';
import 'package:photo_sharing_app/models/image_model.dart';

class ImageRepository {
  final _firebaseFirestore = FirebaseFirestore.instance;

  Stream<List<ImageModel>> images() =>
      _firebaseFirestore.collection("images").snapshots().map((snapshot) =>
          snapshot.docs.map((doc) => ImageModel.fromSnapshot(doc)).toList()
            ..sort((a, b) => b.uploaded.compareTo(a.uploaded)));
}
Let's move on the bloc
Let's code our business logic. The bloc will form our business logic. This is where we will alter the state of our app and send updates to the UI.
import 'dart:async';

import 'package:flutter_bloc/flutter_bloc.dart';
import 'package:photo_sharing_app/blocs/image_state.dart';
import 'package:photo_sharing_app/models/image_model.dart';
import 'package:photo_sharing_app/repositories/image_repository.dart';

class ImageCubit extends Cubit<ImageState> {
  ImageCubit({required ImageRepository imageRepository})
      : _imageRepository = imageRepository,
        super(ImageState());

  StreamSubscription<List<ImageModel>>? _imageStreamSubscription;

  final ImageRepository _imageRepository;

  void loadImages() {
    _imageStreamSubscription?.cancel();

    _imageStreamSubscription = _imageRepository
        .images()
        .listen((images) => emit(ImagesLoaded(images: images)));
  }

  void addImagesToState() async {
    try {
      final _files = await imagesToPreview();

      emit(state.copyWith(images: _files));
    } on Exception catch (_) {}
  }
}
We are using the Cubit here since the Bloc would be an over kill for this implementation. The Cubit allows for state update using functions unlike the Bloc where events are used to trigger changes to the app's state. A Bloc is a more advanced class which relies on events to trigger state changes rather than functions. Bloc also extends BlocBase which means it has a similar public API as Cubit. However, rather than calling a function on a Bloc and directly emitting a new state, Blocs receive events and convert the incoming events into outgoing states. Add a state to be updated by methods in image cubit
import 'package:photo_sharing_app/models/image_model.dart';

class ImageState {}

class ImagesLoaded extends ImageState {
  ImagesLoaded({required this.images});

  final List<ImageModel> images;
}
Now our updated main.dart file becomes
import 'package:firebase_core/firebase_core.dart';
import 'package:flutter/material.dart';
import 'package:flutter_bloc/flutter_bloc.dart';
import 'package:photo_sharing_app/blocs/image_cubit.dart';
import 'package:photo_sharing_app/repositories/image_repository.dart';
import 'package:photo_sharing_app/screens/home_screen.dart';

void main() async {
  WidgetsFlutterBinding.ensureInitialized();

  await Firebase.initializeApp();

  runApp(BlocProvider<ImageCubit>(
    create: (context) =>
        ImageCubit(imageRepository: ImageRepository())..loadImages(),
    child: MyApp(),
  ));
}

class MyApp extends StatelessWidget {
  @override
  Widget build(BuildContext context) {
    return MaterialApp(
      title: 'Photo sharing app',
      theme: ThemeData(
        primarySwatch: Colors.blue,
      ),
      home: const HomeScreen(),
    );
  }
}
Updated main.dart on line 9, we are initializing the flutter widgets before initializing our Firebase app. We always have to add WidgetsFlutterBinding.ensureInitialized() whenever we have code that needs to run before runApp() .
Line 13, provides a Bloc via the BlocProvider class to widgets below the MyApp widget in this case the HomeScreen. We will get an error saying there was no Bloc provided if we miss to wrap MyApp with BlocProvider.
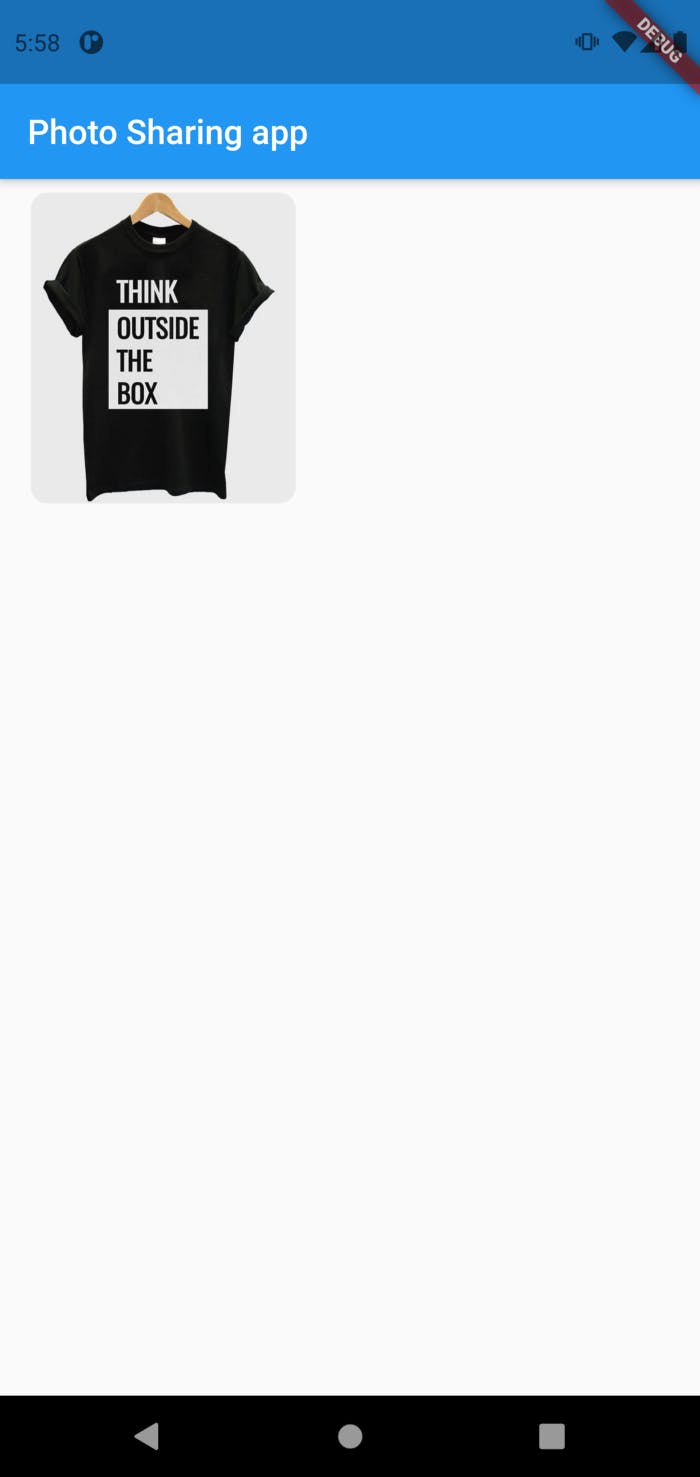
We are also invoking the loadImages() method. This way, our widget gets populated with current images the minute we start the app.
Let's run our app…
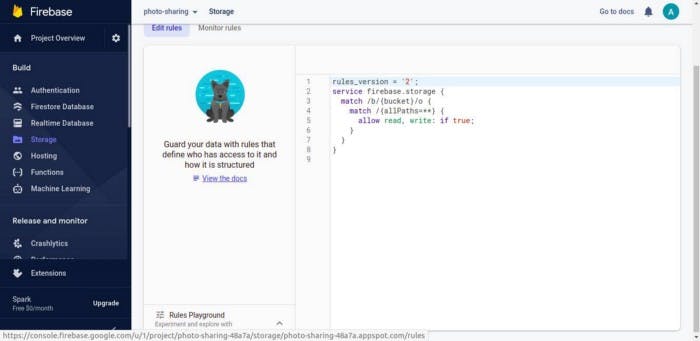
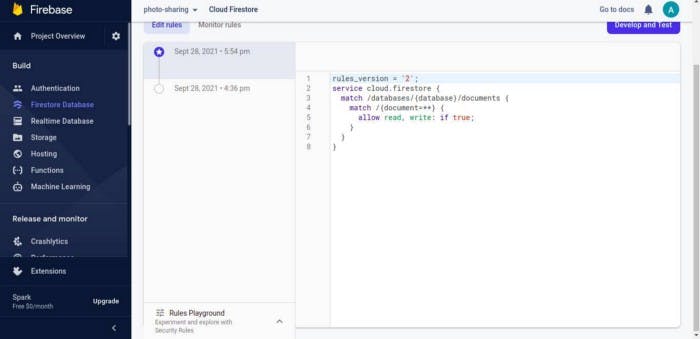
Note: In order to avoid the error: Status{code=PERMISSION_DENIED, description=Missing or insufficient permissions, let's update the rules in our Storage bucket and firestore.
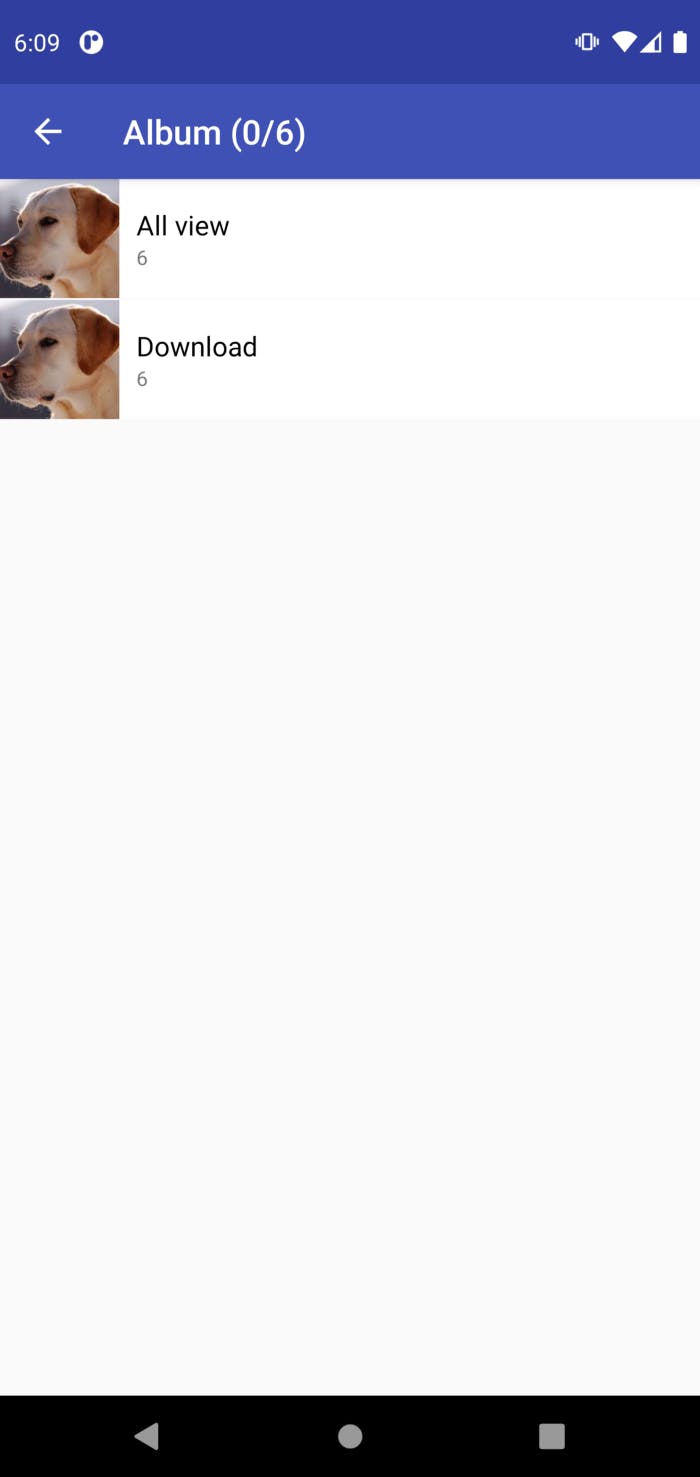
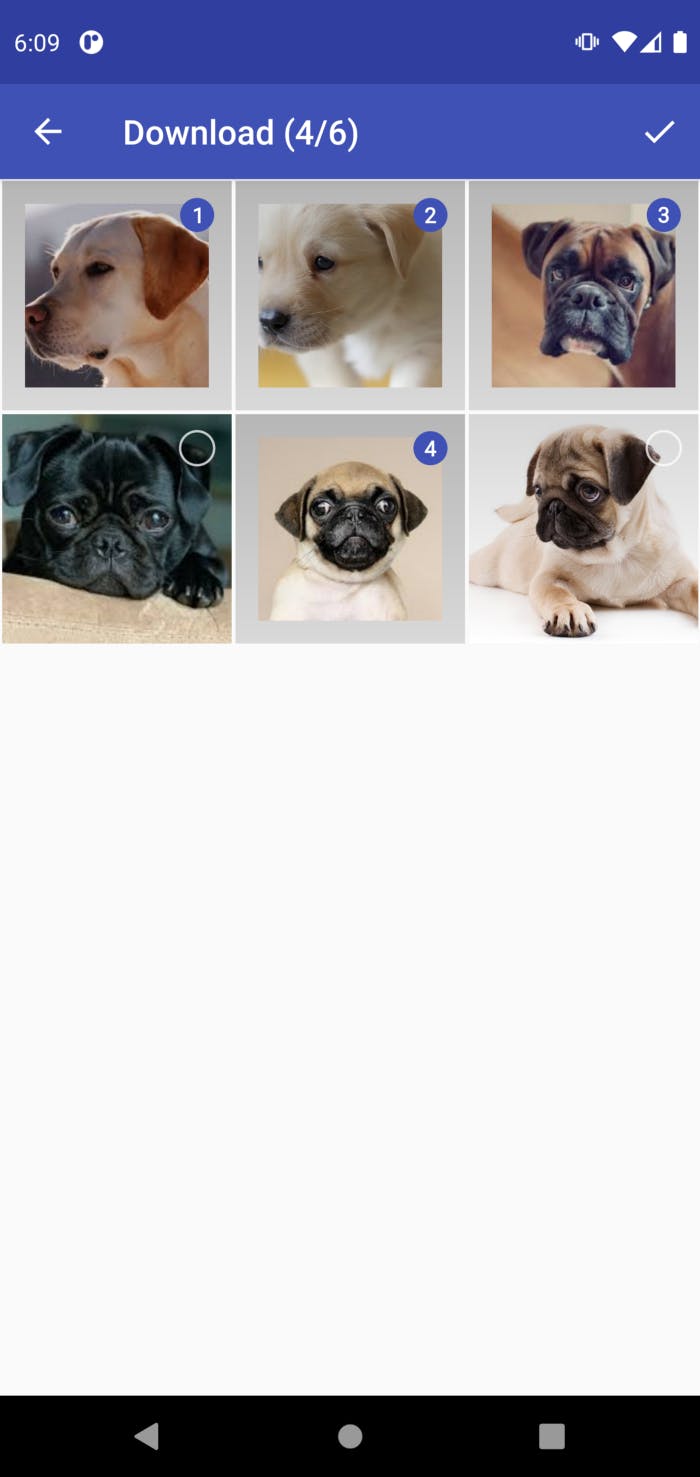
Let's pick and upload images from our app
We will use the multi image picker package from pub.dev to pick our images. This package allows for multiple images to be picked and uploaded. This is exactly what we want.
It also allows for customization of how many images we can pick at once. I have limited the maximum number to 6 for this implementation.
import 'package:flutter/material.dart';
import 'package:flutter_bloc/flutter_bloc.dart';
import 'package:photo_sharing_app/blocs/image_cubit.dart';
import 'package:photo_sharing_app/blocs/image_state.dart';
import 'package:photo_sharing_app/widgets/preview_images.dart';

class ImagePreviewScreen extends StatelessWidget {
  const ImagePreviewScreen({Key? key}) : super(key: key);

  @override
  Widget build(BuildContext context) => Scaffold(
      appBar: AppBar(
        elevation: 0,
        title: Text(
          'Preview images to upload',
          style: TextStyle(
              color: Colors.white, letterSpacing: 1),
        ),
        backgroundColor: Theme.of(context).accentColor,
        iconTheme: Theme.of(context).iconTheme,
      ),
      body: BlocBuilder<ImageCubit, ImageState>(
          builder: (context, state) => Column(
                children: [
                  Expanded(
                      child: PreviewImages(assets: state.images ?? [])),
                  Padding(
                    padding: const EdgeInsets.only(bottom: 16),
                    child: IconButton(
                        icon: const Icon(
                          Icons.arrow_forward_ios_sharp,
                          size: 30,
                        ),
                        onPressed: () {}),
                  )
                ],
              )));
}

Finally, tap on the forward pointing arrow towards the bottom of the screen to upload the images to Firebase Storage.
Conclusion
This post was all about building a Flutter app for uploading images to Firebase Storage. At this point, you should be comfortable with;
- Adding a Flutter Android app to Firebase.
- Securing the database with Firestore rules.
- Using the Bloc pattern to update state of the
UI. - Uploading and saving images to Firebase Storage.
- Fetching and rendering the images in Flutter app.
References
Articles and resources that made it possible for me to write this blog.